Motion(旧Framer Motion)チュートリアル
投稿日:2024年12月01日
更新日:2024年12月01日
この記事では、Motionの使い方を基礎から見ていきます。
Contents
Motionとは
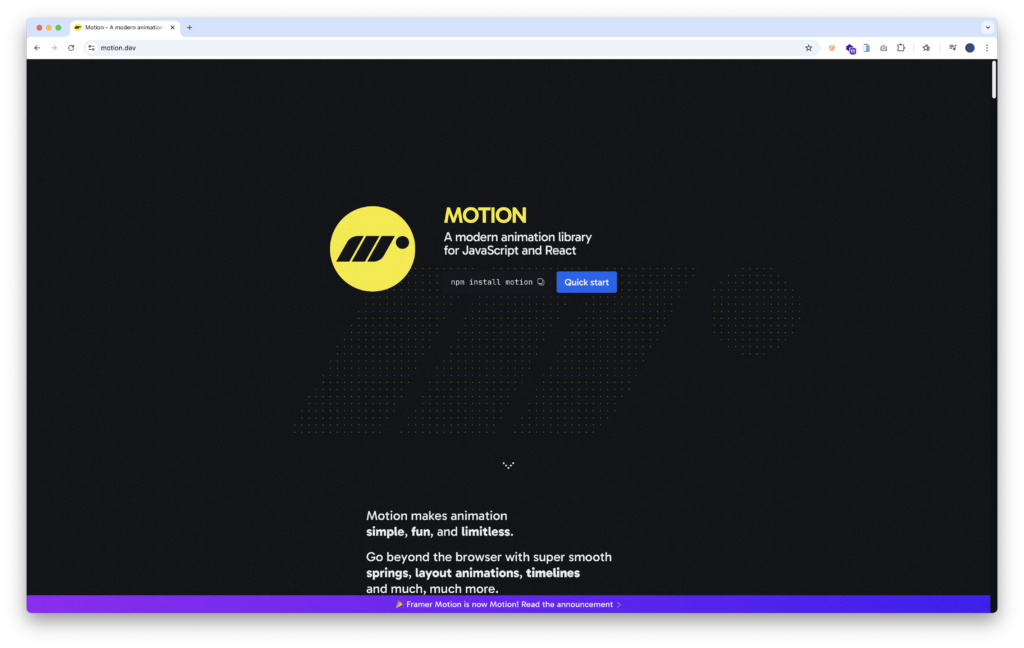
Motionはシンプルでありながら無限の可能性を秘めたアニメーションライブラリです。
このライブラリは、ハイブリッドエンジンを使用しており、ハードウェアアクセラレーションを活用したアニメーションを実現します。
これにより、スムーズでインタラクティブなユーザーインターフェースを構築することが可能になります。
Framer MotionからMotionへの移行
2024年11月、Framer Motionは「Motion」という新しい名前に変更され、React専用のライブラリから、バニラJSやVueなどの他のフレームワークでも使用できるように進化しました。
この変更により、より広範なユーザーに対応できるようになり、コミュニティからの要望に応える形で機能が拡張されています。
主な機能
主な機能を、Feloで検索したら、以下のように出力されました。
- 簡単なアニメーション
Motion for Reactは、非常にシンプルなプロパティベースのアニメーションから、より複雑なオーケストレーションまで、さまざまなアニメーション手法を提供します。
基本的なアニメーションは、<motion />コンポーネントを使用して実行され、animateプロパティを通じて値を更新することで自動的にアニメーションが適用されます。 - アニメーション可能な値
このライブラリは、CSSのほとんどすべての値をアニメーション化でき、特にブラウザがアニメーションできない値(例:mask-imageやbox-shadow)もサポートしています。
数値、色、複雑な文字列など、さまざまなタイプの値をアニメーション化することができます。 - トランスフォームの独立したアニメーション
Motionは、CSSとは異なり、各トランスフォーム軸を独立してアニメーション化することができます。
これにより、より柔軟でダイナミックなアニメーションが可能になります。
まずは、プロジェクトから作成します。
もし、作成方法をご存知の方は、Motionを導入まで飛ばしてください。
ViteでReactプロジェクトを作成
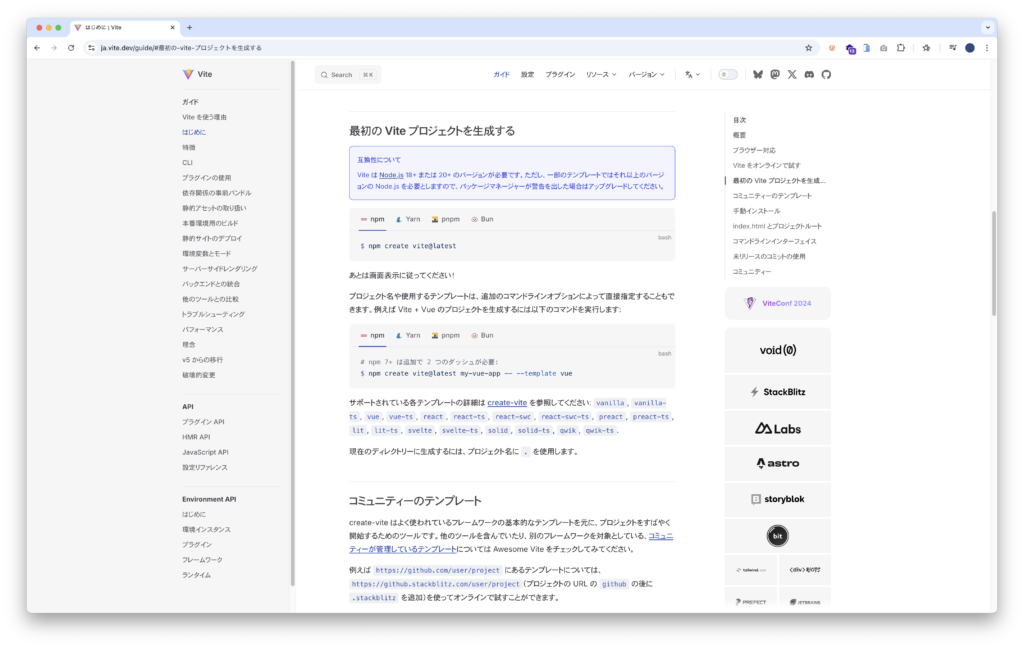
Viteのドキュメント「最初のViteプロジェクトを生成する」を参考にReactプロジェクトを作成します。
まずは、react-motion-tutorialディレクトリを作成して、移動します。
mkdir react-motion-tutorial
cd react-motion-tutorial
以下のコマンドを実行します。
フレームワークはReact、言語はTypeScriptを選択します。
もし、bunを導入していないのであれば、ドキュメントから他のコマンドをコピーして実行してください。
bun create vite ./
Select a framework: › React
Select a variant: › TypeScript
また、以下のコマンドでフレームワークと言語をオプションで指定して実行することもできます。
bun create vite ./ --template react-ts作成が終わったら、指示通りに、以下のコマンドを実行します。
bun install<html>のlangプロパティを英語から日本語に変更します。
また、<title>の内容を「Vite + React + TS」から「React Motion Tutorial」に変更します。
  <!DOCTYPE html>
- <html lang="en">
+ <html lang="ja">
    <head>
      <meta charset="UTF-8" />
      <link rel="icon" type="image/svg+xml" href="/vite.svg" />
      <meta name="viewport" content="width=device-width, initial-scale=1.0" />
-     <title>Vite + React + TS</title>
+     <title>React Motion Tutorial</title>
    </head>
    <body>
      <div id="root"></div>
      <script type="module" src="/src/main.tsx"></script>
    </body>
  </html>
動作を確認します。
以下のコマンドを実行して、簡易サーバーを立ち上げます。
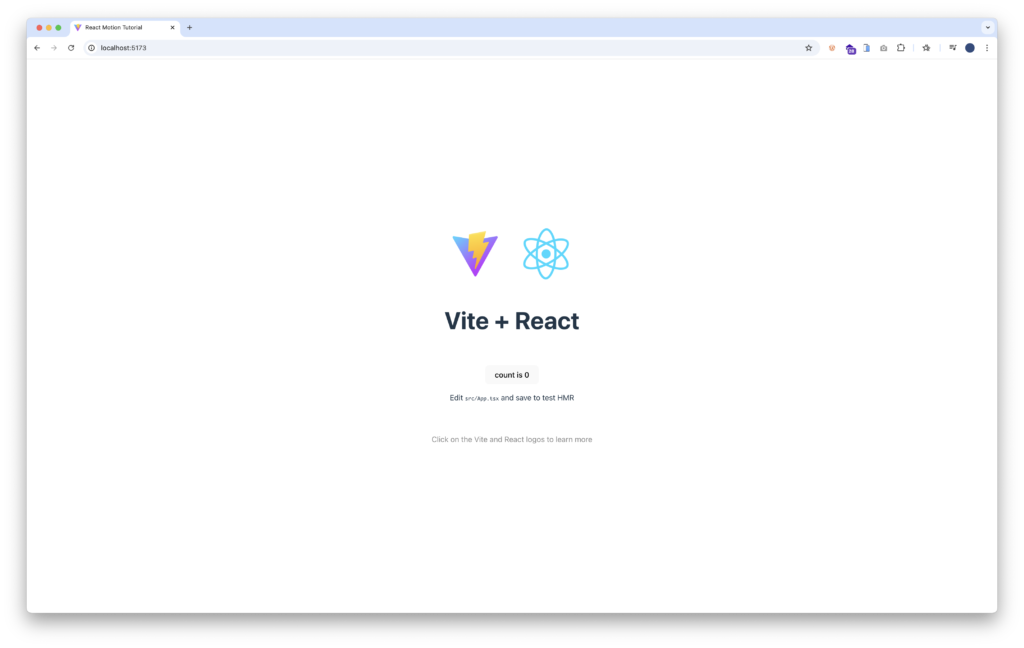
bun run devhttp://localhost:5173/が立ち上がるので、開いて確認します。
すると、以下のようなページが表示されました。
Tailwind CSSを導入
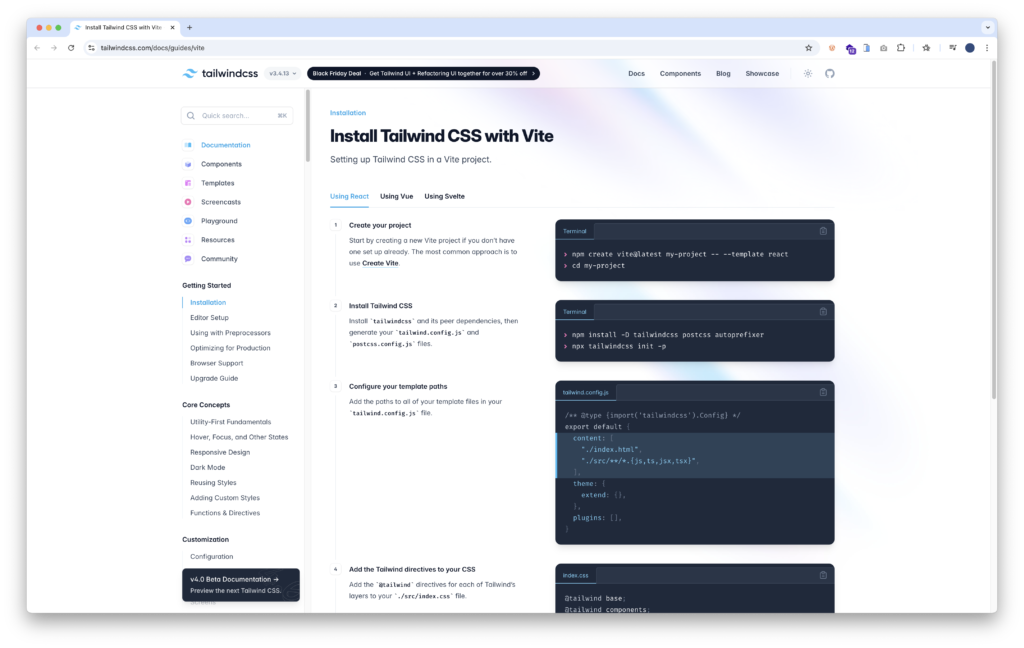
ドキュメント「Install Tailwind CSS with Vite」を参考にして、Tailwind CSSを導入します。
1. Tailwind CSSをインストール
以下のコマンドを実行します。
npm install -D tailwindcss postcss autoprefixer
npx tailwindcss init -p
2. tailwind.config.jsにパスを追加
tailwind.config.jsが作成されるので、Tailwind CSSを反映させるファイルを指定します。
ここでは、ルートにあるindex.htmlと、srcディレクトリ以下の拡張子がtsとtsxのファイルを指定します。
  /** @type {import('tailwindcss').Config} */
  export default {
-   content: [],
+ 	content: ["./index.html", "./src/**/*.{ts,tsx}"],
    theme: {
      extend: {},
    },
    plugins: [],
  }
3. index.cssに、Tailwindディレクティブを追加
index.cssを開いて、元のコードを削除して、代わりに以下のコードを追加します。
@tailwind base;
@tailwind components;
@tailwind utilities;
4. App.cssを削除
App.cssは必要ないので削除します。
5. Tailwind CSSの動作を確認
App.tsxを開いて、Tailwind CSSが効いているか確認します。<h1 className="text-3xl font-bold">React Motion Tutorial</h1>を追加します。
ついでに、コードをすっきりしておきます。
- import { useState } from "react";
- import "./App.css";
- import reactLogo from "./assets/react.svg";
- import viteLogo from "/vite.svg";

  function App() {
-   const [count, setCount] = useState(0);

    return (
-     <>
-       <div>
-         <a href="https://vite.dev" target="_blank">
-           <img src={viteLogo} className="logo" alt="Vite logo" />
-         </a>
-         <a href="https://react.dev" target="_blank">
-           <img src={reactLogo} className="logo react" alt="React logo" />
-         </a>
-       </div>
-       <h1>Vite + React</h1>
-       <div className="card">
-         <button onClick={() => setCount((count) => count + 1)}>
-           count is {count}
-         </button>
-         <p>
-           Edit <code>src/App.tsx</code> and save to test HMR
-         </p>
-       </div>
-       <p className="read-the-docs">
-         Click on the Vite and React logos to learn more
-       </p>
+       <h1 className="text-3xl font-bold">React Motion Tutorial</h1>
      </>
    );
  }

  export default App;
Motionを導入
ドキュメント「Install React 18」を参考にして、Motionを導入します。
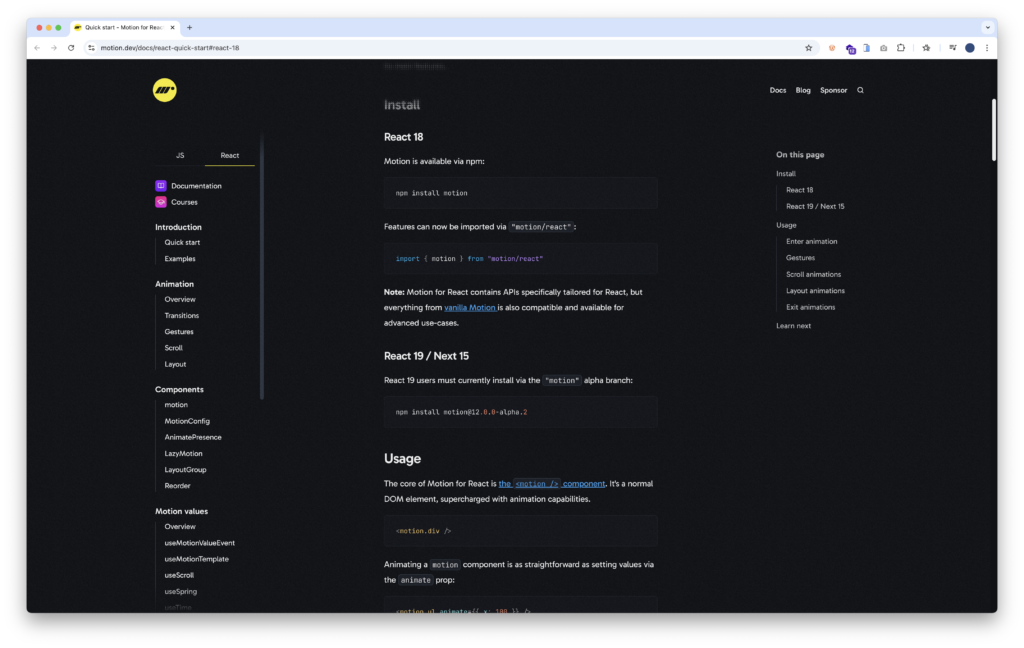
以下のコマンドを実行します。
bun add motionアニメーションの基本
まずは、動かす四角い箱を用意して、その箱を横移動するアニメーションを作成します。srcディレクトリに、components/basic-animation.tsxを作成します。
作成したbasic-animation.tsxを、以下のコードに変更します。
export default function BasicAnimation() {
  return (
    <>
			<h2 className="text-2xl font-bold">横移動</h2>
      <div className="w-32 h-32 bg-blue-500 rounded-lg"></div>
		</>
  );
}そして、App.tsxのBasicAnimationコンポーネントを追加して、表示できるようにします。
+ import BasicAnimation from "./components/basic-animation";

  function App() {
    return (
+     <div className="flex flex-col items-center gap-4">
        <h1 className="text-3xl font-bold">React Motion Tutorial</h1>
+       <BasicAnimation />
+     </div>
    );
  }

export default App;
横移動を追加
import { motion } from "framer-motion";

export default function BasicAnimation() {
	return (
		<>
      <h2 className="text-2xl font-bold">横移動</h2>
      <div className="w-32 h-32 bg-blue-500 rounded-lg"></div>
      <motion.div
        className="w-32 h-32 bg-blue-500 rounded-lg"
        initial={{ x: 0 }} // 1. 初期値
        // animate={{ x: 200 }} // 2. 移動する位置
        // animate={{ x: [0, 200] }} // 3. 初期値から移動する位置
        animate={{ x: [0, 200, 0] }} // 6. 初期値から移動する位置
        transition={{
					duration: 2, // 4. 移動にかかる時間
          repeat: Infinity, // 5. 繰り返し
        }}
      ></motion.div>
    </>
  );
}initialプロパティ
アニメーションの最初の位置を指定します。
ここでは、x座標が0になります。animateプロパティ
移動する位置を指定します。
ここでは、x座標が0から200に移動します。transitionプロパティduretionプロパティとrepeatプロパティを指定します。durationプロパティ2を指定して、アニメーションの持続時間を2秒に設定します。repeatプロパティInfinityを指定して、無限に繰り返されるように設定します。
import { motion } from "framer-motion";

const variants = {
  initial: { x: 0 },
  animate: {
    x: 200,
    transition: {
      duration: 2,
      repeat: Infinity,
    },
  },
};

export default function BasicAnimation() {
  return (
    <>
      <h2 className="text-2xl font-bold">横移動</h2>
      <div className="w-32 h-32 bg-blue-500 rounded-lg"></div>
      <motion.div
        variants={variants}
        className="w-32 h-32 bg-blue-500 rounded-lg"
        initial="initial"
        animate="animate"
      ></motion.div>
    </>
  );
}initialやanimateやtransitionなどのアニメーションの状態を定義するプロパティは、オブジェクトとして指定できます。
オブジェクトは、variantsプロパティに渡します。
また、initialプロパティには"initial"を、animateプロパティには"animate"を指定します。
